

AI Integration Quick Reference
AI Integration Quick Reference
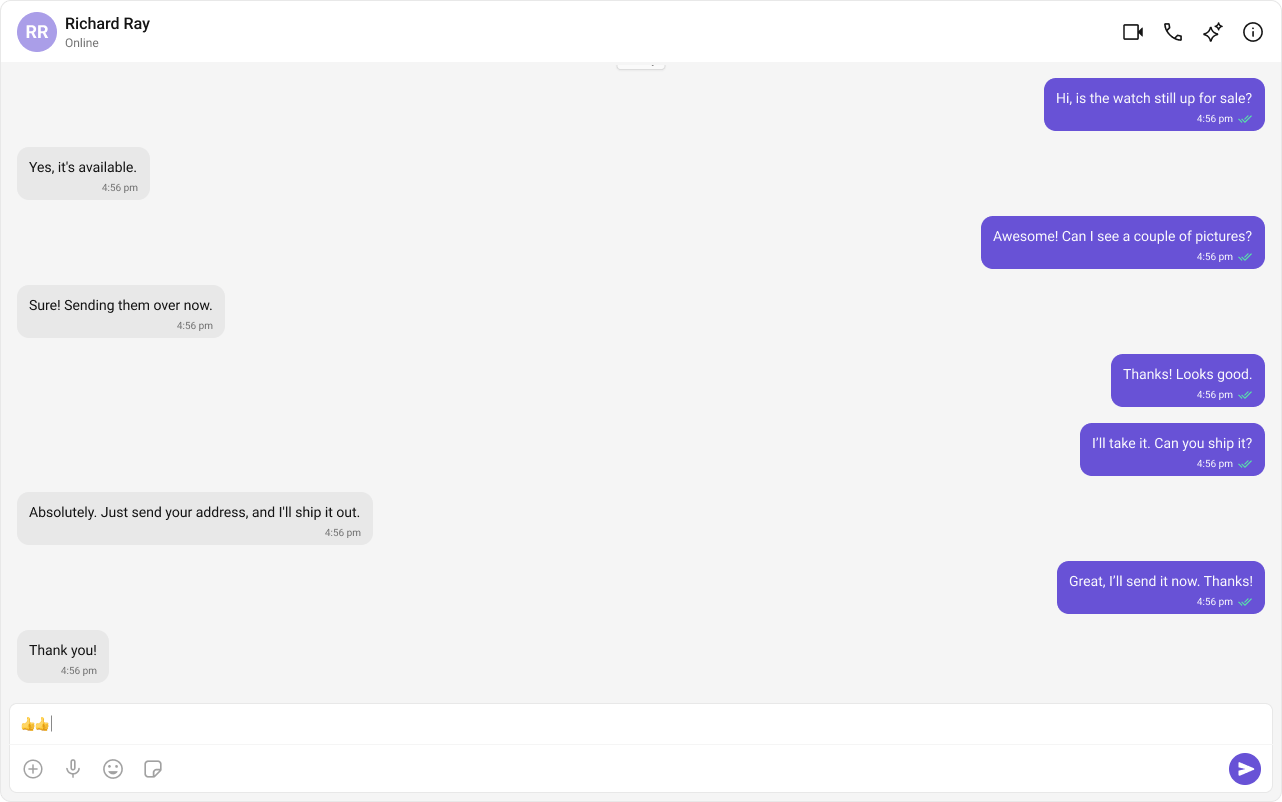
What You’re Building
Three components stacked vertically:- Chat header — displays recipient name, avatar, online status, and optional call buttons
- Message list — real-time chat history with scrolling
- Message composer — text input with media, emojis, and reactions
Step 1 — Create the CometChatNoSSR Component
This component handles init, login, fetches the target user/group, and renders the chat UI. It runs client-side only.src
app
CometChatNoSSR
CometChatNoSSR.tsx
CometChatNoSSR.css
- TypeScript
- CSS
CometChatNoSSR.tsx
CometChat.getUser(UID)fetches the user object from the SDK — you need a real user object, not a manually constructed one.- Pass either
userorgroupto the message components, never both. - The highlighted lines show where to set your credentials.
Switching Between User and Group Chat
To load a group chat instead of one-to-one, replace thegetUser call with getGroup:
Step 2 — Disable SSR and Add the Route
CreateCometChat.tsx inside the routes folder:
routes/CometChat.tsx
routes.ts
Step 3 — Run the Project
- npm
- pnpm
- yarn
/chat (e.g. http://localhost:5173/chat). You should see the chat window load with the conversation for the UID you set.
Next Steps
Theming
Customize colors, fonts, and styles to match your brand
Components Overview
Browse all prebuilt UI components
React Router Integration
Back to the main setup guide
Core Features
Chat features included out of the box