

Overview
CometChatCallLogs is a Component that shows the list of Call Log available . By default, names are shown for all listed users, along with their avatar if available.
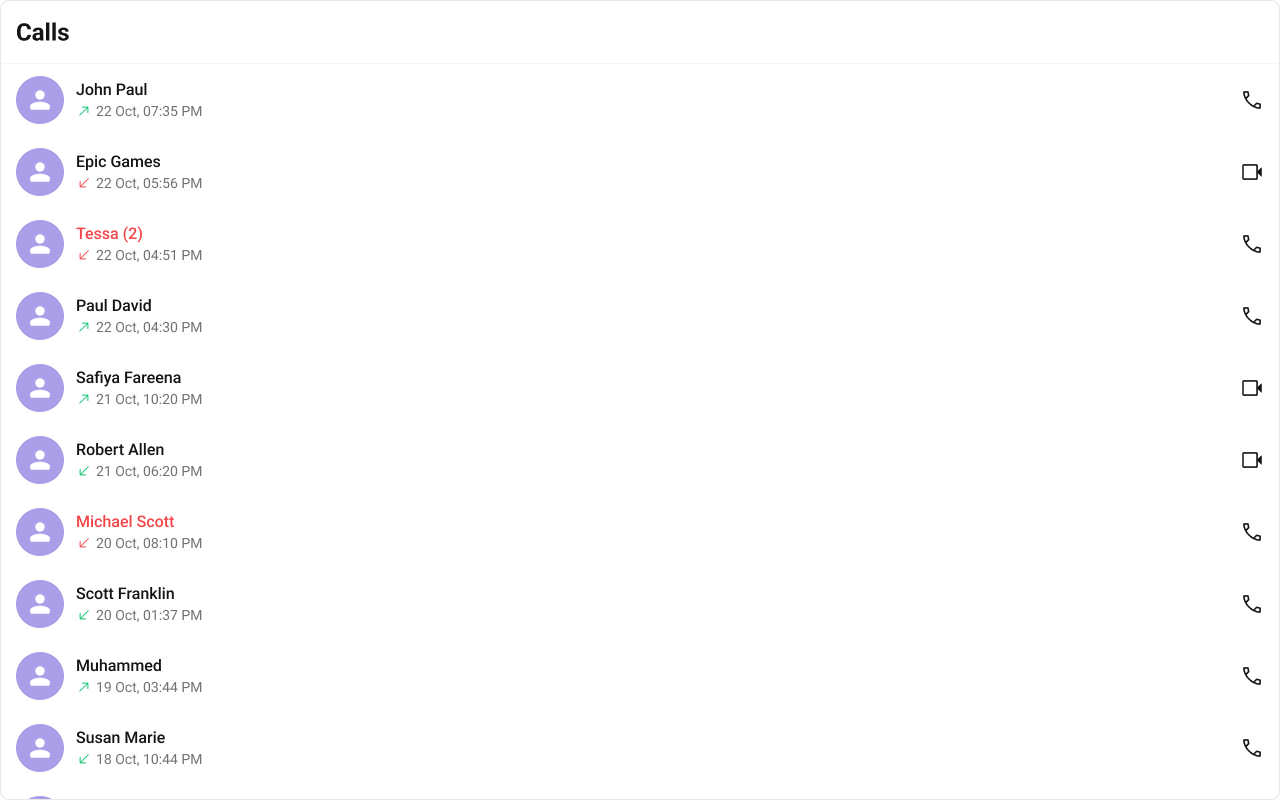
Call Logs is comprised of the following components:
Usage
Integration
- CallLogDemo.tsx
- App.tsx
Actions
Actions dictate how a component functions. They are divided into two types: Predefined and User-defined. You can override either type, allowing you to tailor the behavior of the component to fit your specific needs.1. onItemClick
onItemClick is a callback function which triggers when a call log list item is clicked. It does not have a default behavior. However, you can override its behavior using the following code snippet.
- TypeScript
- JavaScript
2. onCallButtonClicked
onCallButtonClicked is a callback function which triggers when the call button in the trailing view is clicked.
- TypeScript
- JavaScript
3. onError
This is a callback function which is triggered when the component encounters an error.- TypeScript
- JavaScript
Filters
Filters allow you to customize the data displayed in a list within aComponent. You can filter the list based on your specific criteria, allowing for a more customized. Filters can be applied using RequestBuilders of Chat SDK.
1. CallLogRequestBuilder
The CallLogRequestBuilder enables you to filter and customize the Call Log based on available parameters in CallLogRequestBuilder. This feature allows you to create more specific and targeted queries when fetching the call logs. The following are the parameters available in CallLogRequestBuilder
Example
In the example below, we’re filtering Call Logs to show only canceled calls and setting the limit to five.
- TypeScript
- JavaScript
Events
Events are emitted by aComponent. By using event you can extend existing functionality. Being global events, they can be applied in Multiple Locations and are capable of being Added or Removed.
The list of events emitted by the Call Logs component is as follows.
- Add Listener
- Remove Listener
Customization
To fit your app’s design requirements, you can customize the appearance of the Call Logs component. We provide exposed methods that allow you to modify the experience and behavior according to your specific needs.Style
Using CSS you can customize the look and feel of the component in your app like the color, size, shape, and fonts. Example: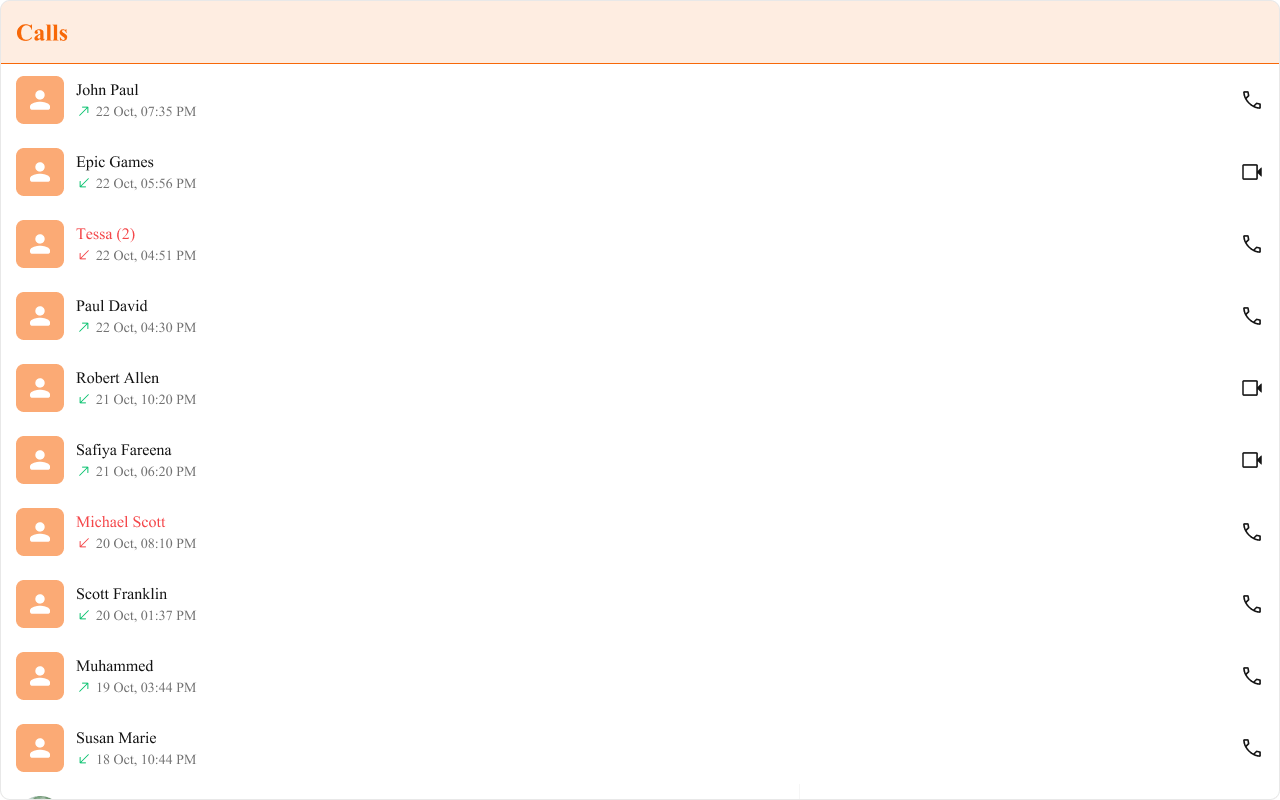
- TypeScript
- JavaScript
- CSS
Functionality
These are a set of small functional customizations that allow you to fine-tune the overall experience of the component. With these, you can change text, set custom icons, and toggle the visibility of UI elements. Here is a code snippet demonstrating how you can customize the functionality of theCall Logs component.
- TypeScript
- JavaScript
Advanced
For advanced-level customization, you can set custom views to the component. This lets you tailor each aspect of the component to fit your exact needs and application aesthetics. You can create and define your views, layouts, and UI elements and then incorporate those into the component.ItemView
With this property, you can assign a custom ListItem to the Call Logs Component. Shown below is the default chat interface.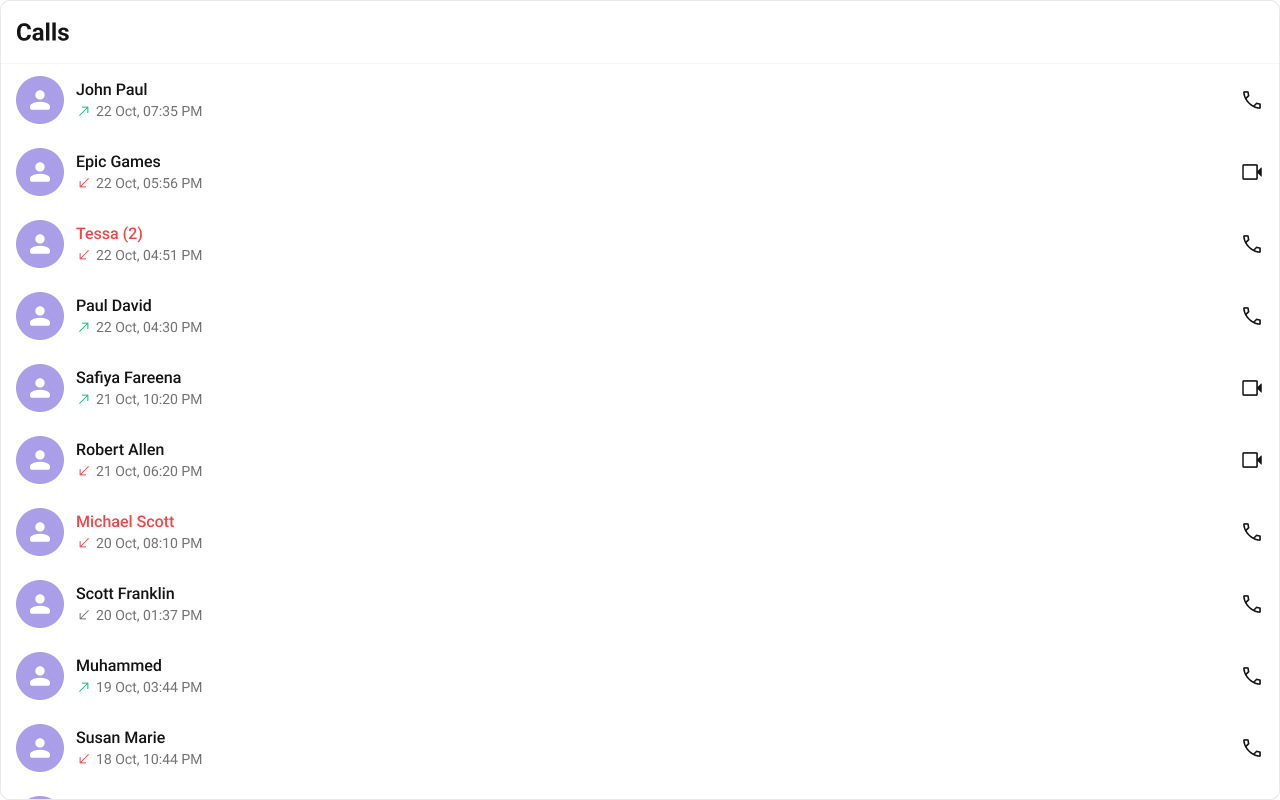
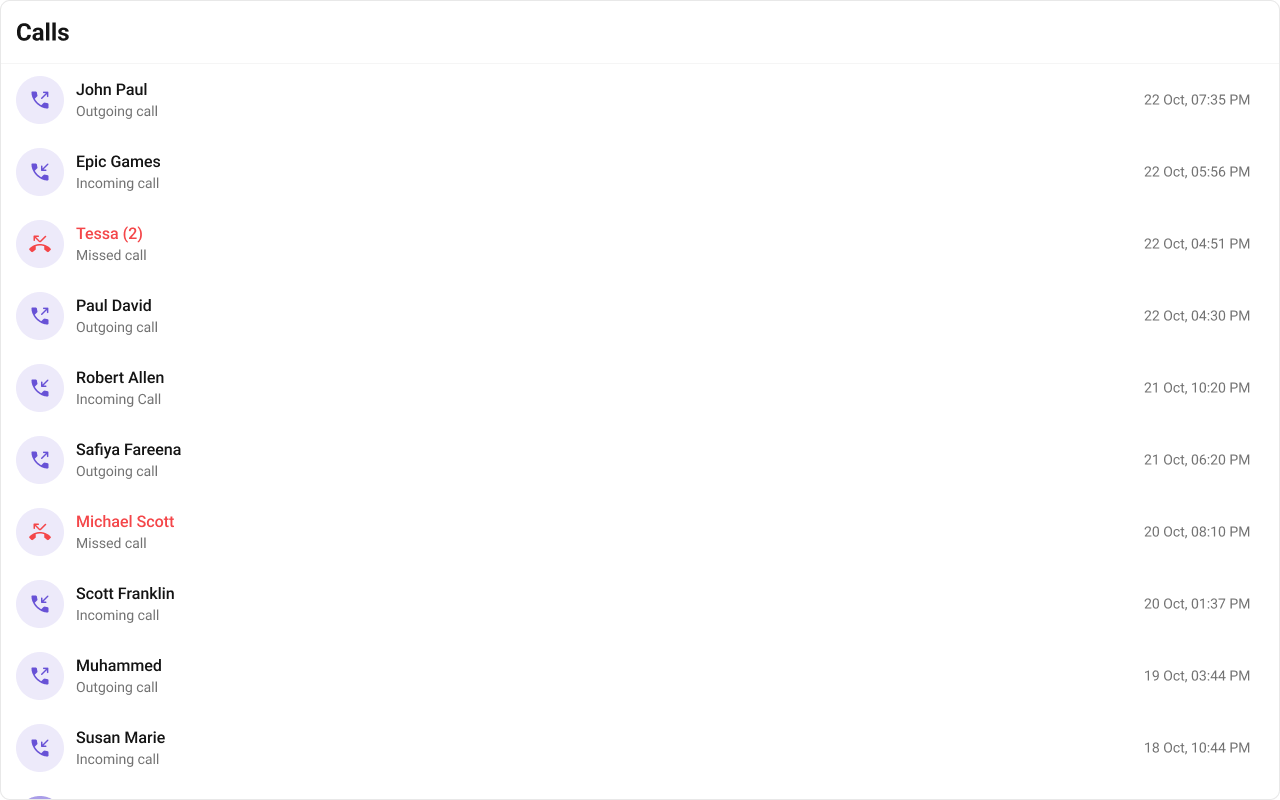
- TypeScript
- JavaScript
- CSS
SubtitleView
You can customize the subtitle view for each call logs item to meet your requirements. Shown below is the default chat interface.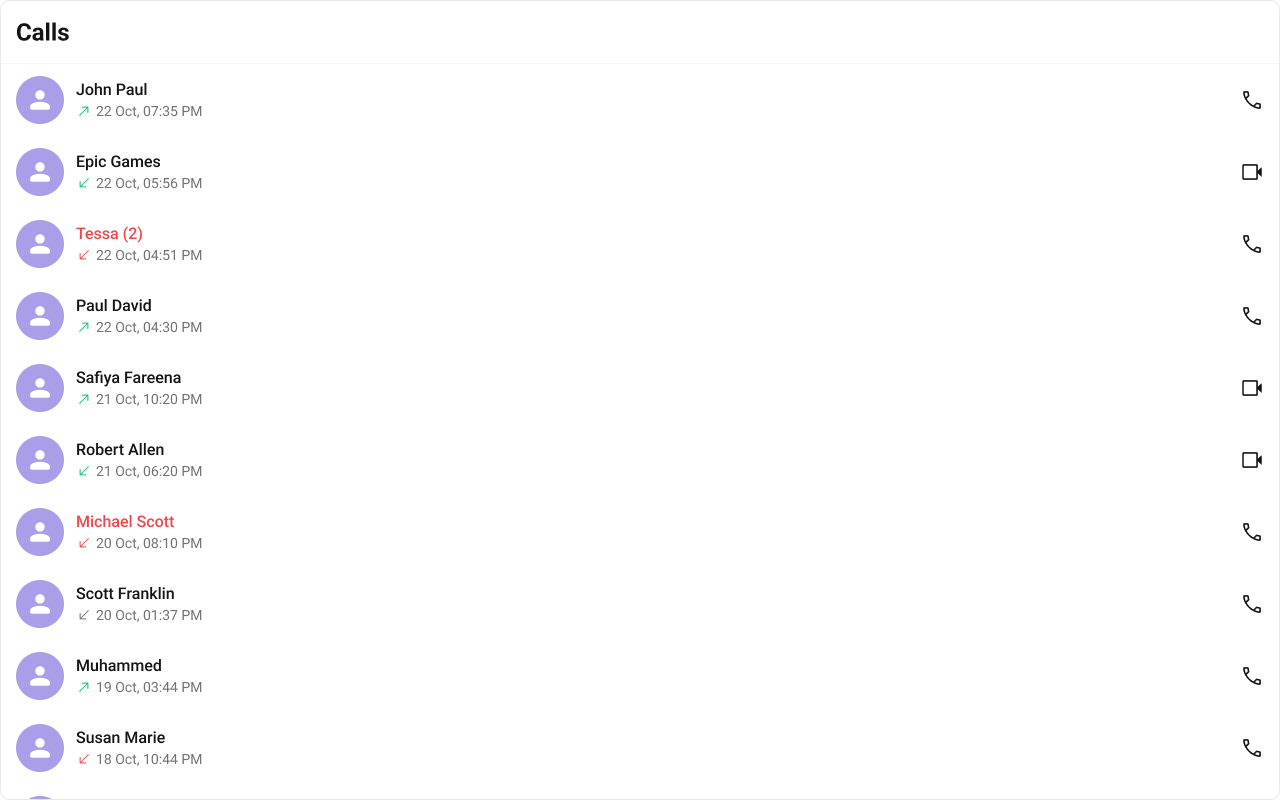
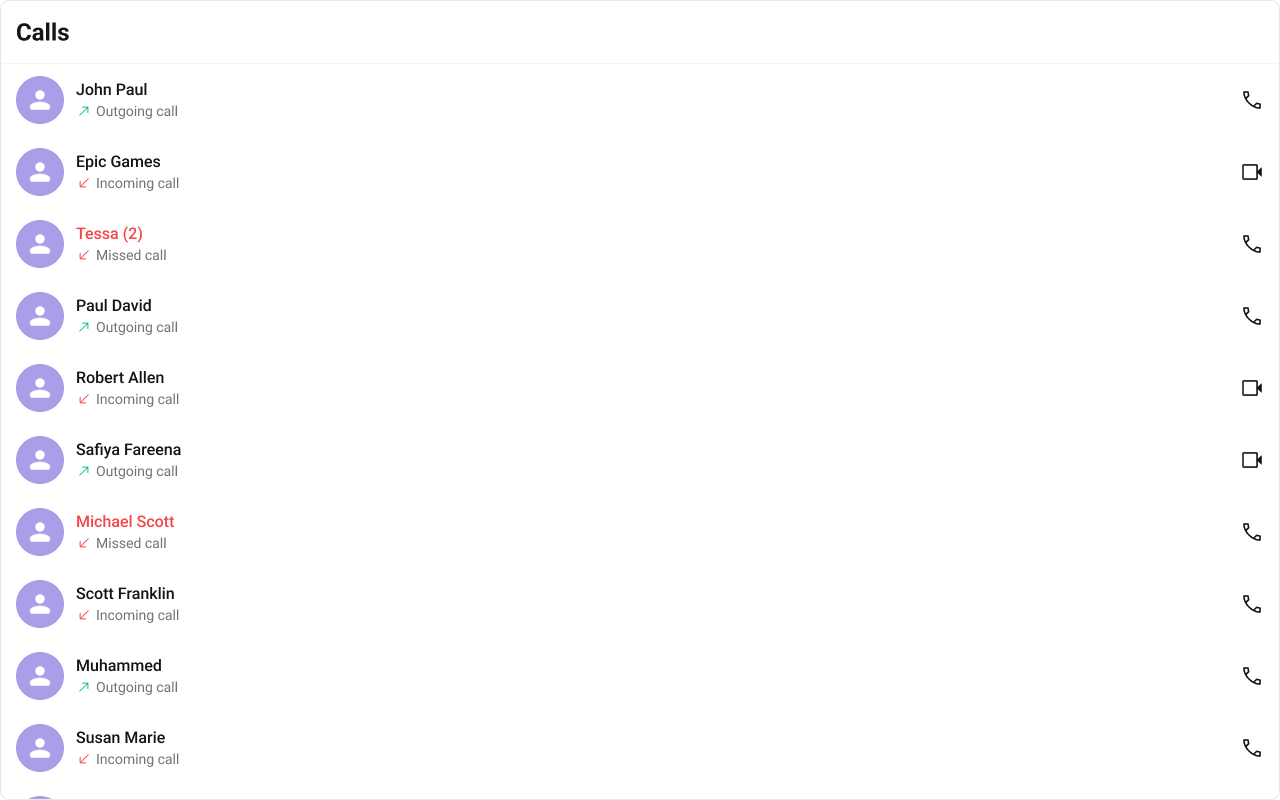
- TypeScript
- JavaScript
- CSS
TrailingView
You can customize the trailing view for each call logs item to meet your requirements. Shown below is the default chat interface.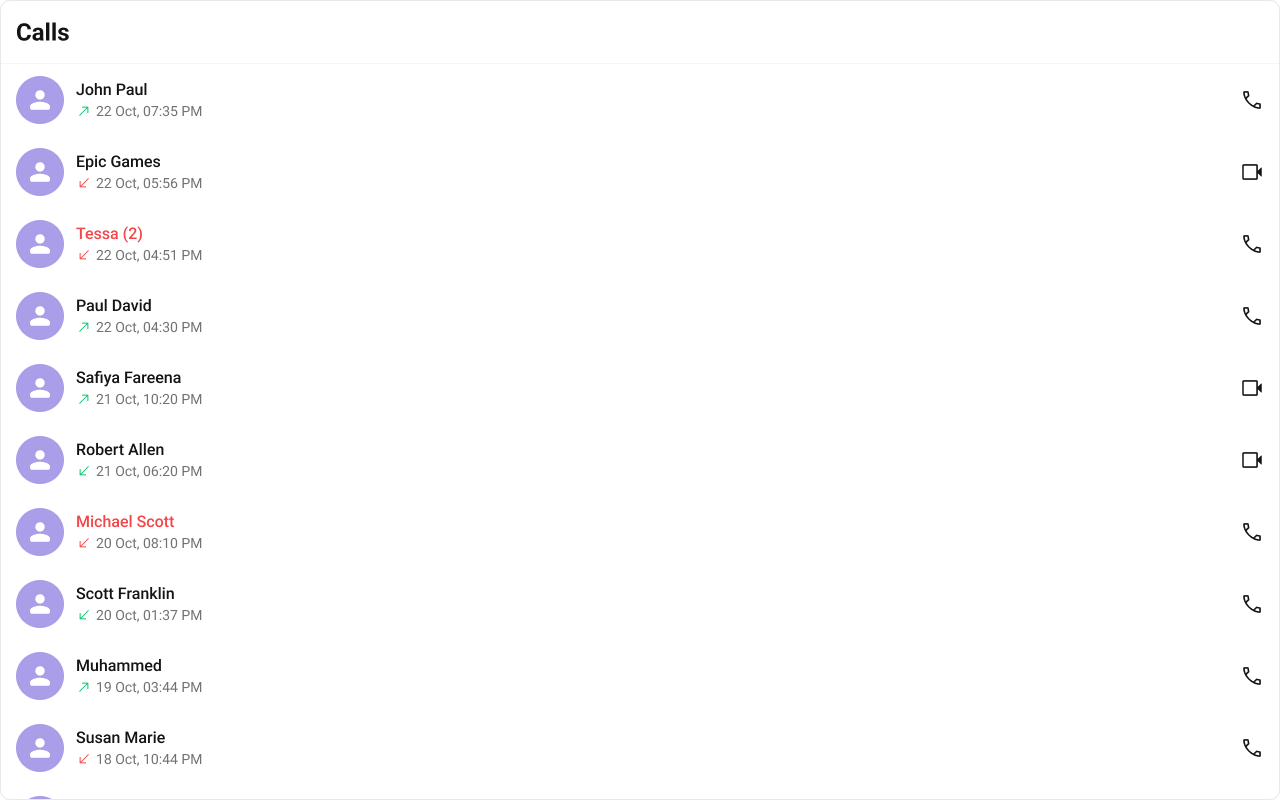
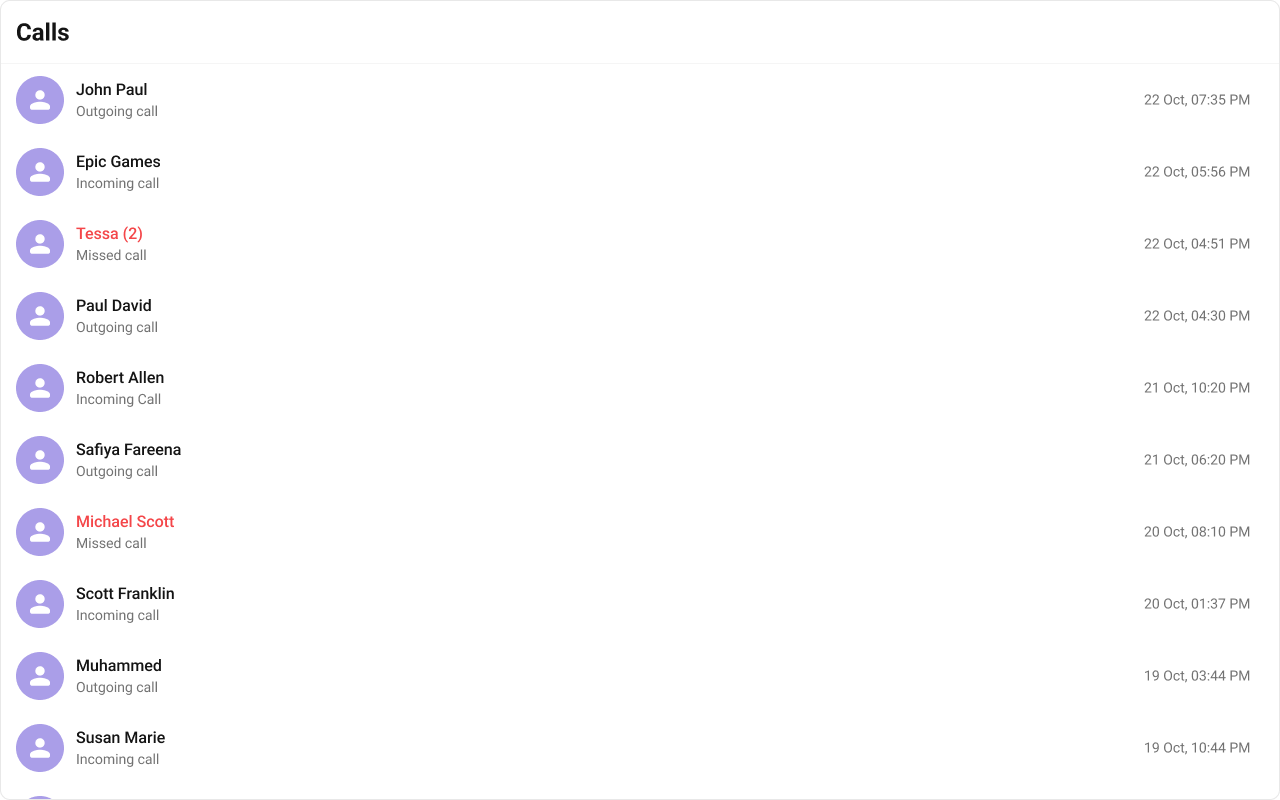
- TypeScript
- JavaScript
- CSS
LeadingView
You can customize the leading view for each call logs item to meet your requirements. Shown below is the default chat interface.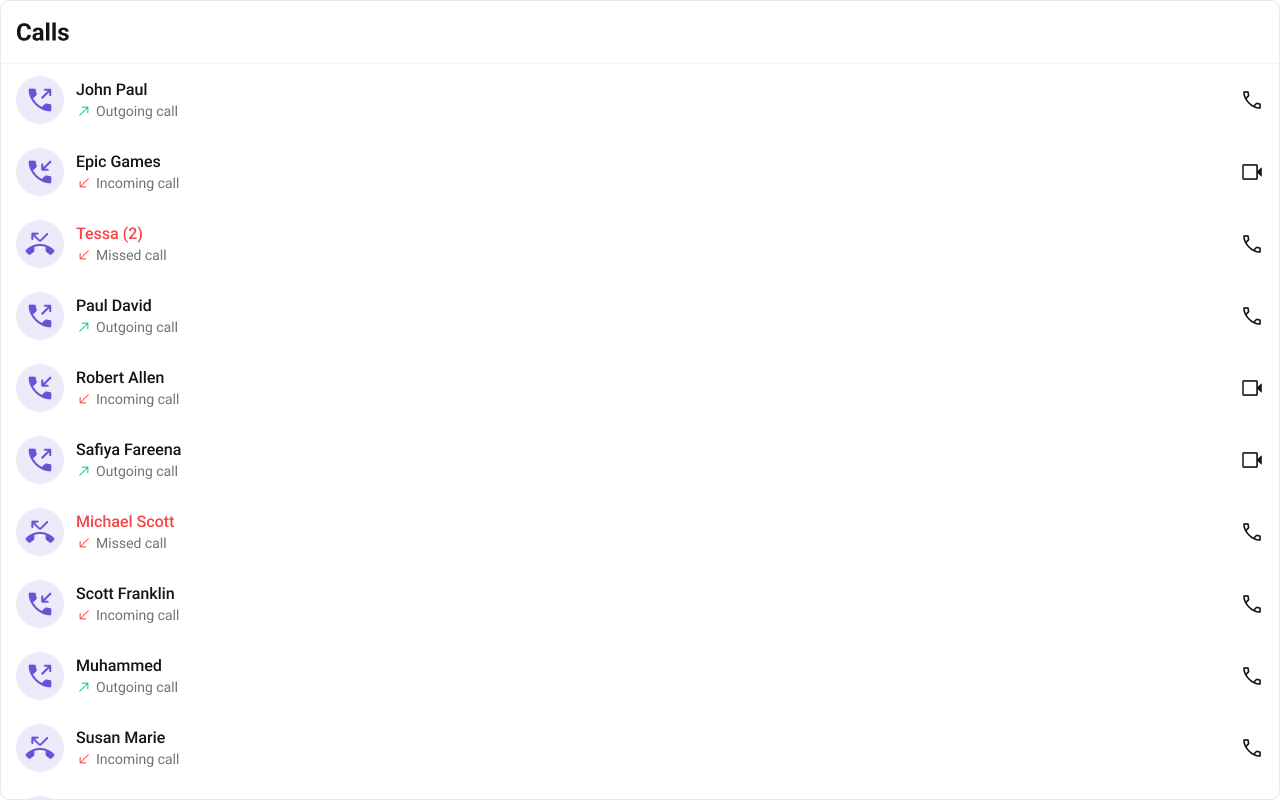
- TypeScript
- JavaScript
- CSS
TitleView
You can customize the title view for each call logs item to meet your requirements. Shown below is the default chat interface.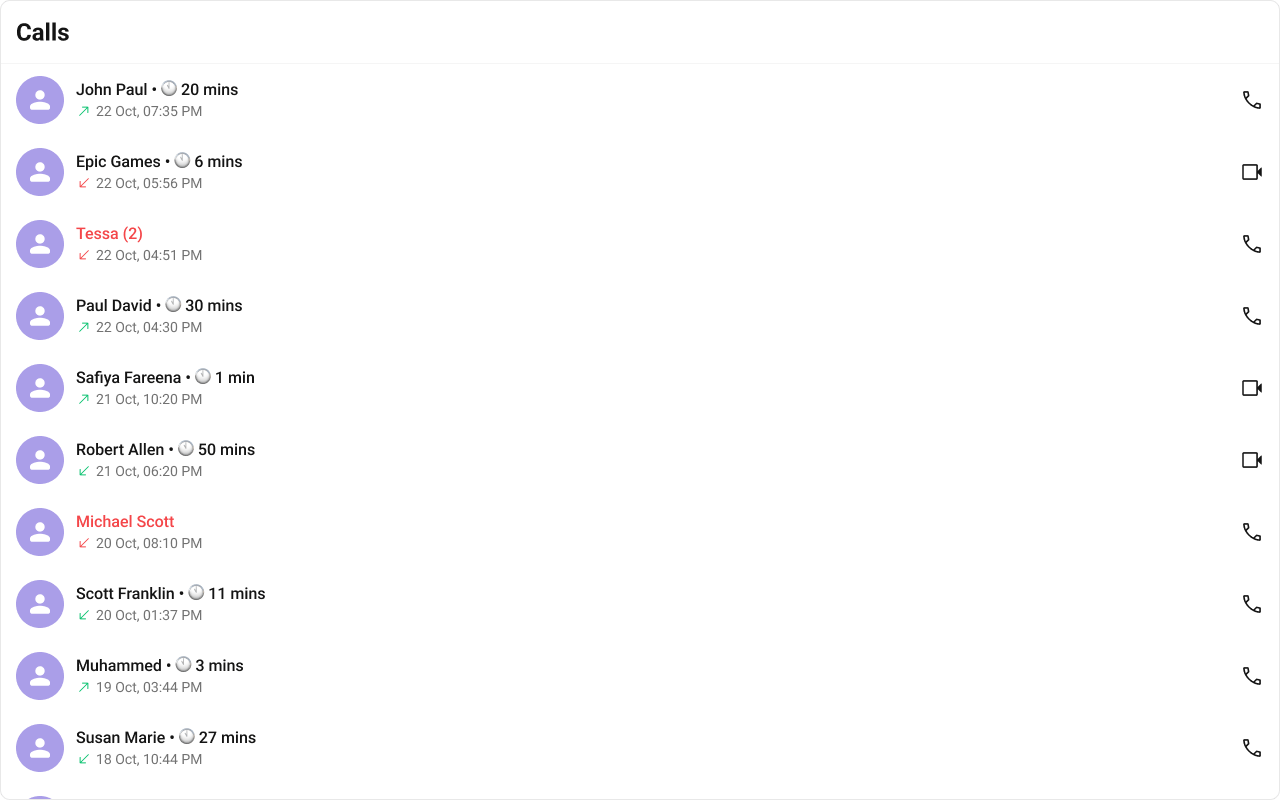
- TypeScript
- JavaScript
- CSS